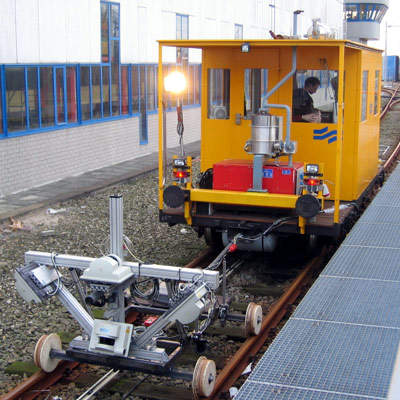
Deutzer Technische Kohle (DTK) is a supplier of rail infrastructure measuring and monitoring services. Established in 1991, the company is well-known to public transport operators. Its customers can rely on the experience gained in more than 400 measurement and consulting services, performed in more than 19 countries.
DTK carries out its measurements in regular service and under normal traffic conditions. Thus the measured values show the infrastructure’s real condition.
The company’s range of rail infrastructure measuring and monitoring services and systems includes:
- Overhead line monitoring
- Track measurements
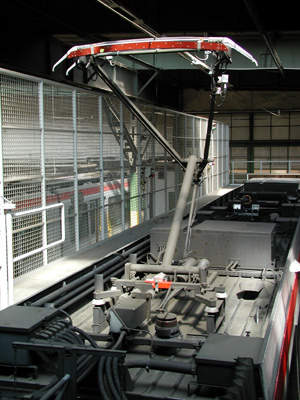
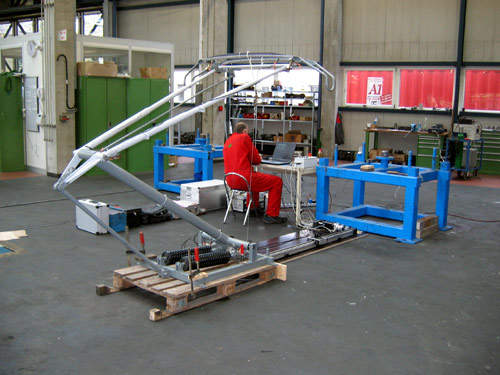
- Pantograph monitoring
- Optimisation of wheel and rail interactions
- Ride comfort measurements
- Third rail measurements
- Running clearance measurements
- Surveying of handicapped accessible platforms
- Synchronous video and sound recording
Overhead line monitoring
DTK’s overhead line monitoring system measures the stagger and height of the overhead wire, the shocks between overhead wire and contact strips, and the strength of electrical current and its direction for each contact strip.
Overhead wire voltage, contact force and contact resistance, gradient of the wire, wire wear, geographical coordinates, and interaction between pantograph, bogie and track can also be measured.
Track measurement
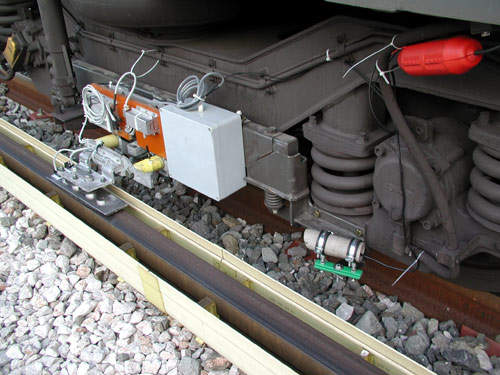
The following parameters can be measured by DTK’s track measurement system during normal traffic running and under normal load conditions:
- Gauge
- Width of each groove – left and right
- Depth of each groove – left and right
- Wear of the rails (rail contour and bend of flanks)
- Curve radius
- Longitudinal height and lateral height
- Torsion
- Smooth and quiet run of the wheels
- Shocks between wheels and rails
- Geographical coordinates
- Over height ramps
- Speed
- Superelevation and cross level
Pantograph inspection
Pantographs have to ensure a continuous current transfer between overhead wire and vehicle. DTK’s inspections allow for the necessary adjustments to meet this condition.
Ride comfort inspection
DTK can inspect and measure passenger ride comfort in trains. Also under development is a monitoring system for flats on train wheels.
Running clearance measurement
The clearance measurement system finds all objects which enter the clearance profile of rail vehicles or are within 8m (26ft) of the centre of the track.
Third rail measurement
DTK’s third rail measurement system measures:
- Lateral position and height of the third rail
- Shocks between third rail and contact shoe
- Strength of electrical current and its direction for each contact shoe
- Current rail voltage
- Contact force and contact resistance
- Gradient of the third rail
- Third rail wear
- Geographical coordinates
- Interaction between contact shoe and current rail
Wheel and rail measurement
DTK also monitors the interaction between wheel and rail (hunting oscillation) and optimises wheel and rail profiles.
Thickness measurement for trolleybus overhead wires
Unlike overhead lines for tramways, whose contact strips only draw the current from underneath the wire, trolleybus overhead wires also wear out sideways.
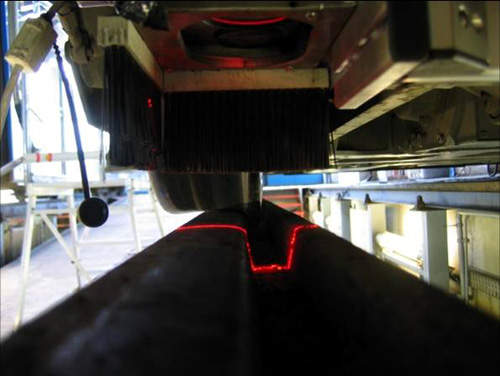
DTK is currently developing an innovative type of measuring equipment which allows for the calculation of the wire’s remaining cross-section. Two lasers and two cameras, which record the wire’s contour, make this possible.
To perform the monitoring, DTK’s measuring device is mounted on a revenue vehicle, which travels at a speed of approximately 20km/h (12mph). The wire contours are recorded at a rate of 200 measurements per second, or approximately every 30mm (1.2in).
Platform measurement system
The DTK system for platform measurement enables you to check the specified dimensions of disabled-access platforms. This includes the distance between platform edges and the track (either left-hand or right-hand depending on which side of the train the platform is located), and the height of the platform edge in relation to the track.
So far employees of the rail systems have carried out random checks manually with a ruler, e.g. every 5m (16.4ft). The DTK system instead measures these values in a comfortable contactless way every 5cm (20 data sets per m, 20 data sets per 3.3ft). To perform this measurement, DTK installs two laser/camera units on a sliding carriage, whose lateral guiding device is fixed to the vehicle’s front bumper.
Infrared thermography system
DTK infrared thermal imaging systems make it possible to check the temperature at the contact point between overhead wire and contact strips.
- 60 measurements per s
- Accuracy of 0.17°K
This system is useful in all cases where energy can be transformed into heat as a result of an insufficient electric contact – e.g. energy recovery systems, control boxes and third-rail connections, or in order to control brake pads.
Service and reports
Immediately after each examination client receives:
- Measurement data, video and audio files
- DTK software as DVD
- Instruction in the use of the analysis software (DTK also provides additional software training if requested)
Approximately four weeks after measurement, clients will get an investigation report.


