Established in 1991, GRAW specialises in design and manufacturing of the geometry measurement systems for the railway and steel industries, including rails, turnouts, track and wheels.
GRAW produces microprocessor-based portable devices for geometry control of the railway, such as trolleys for tracks and turnouts that can be fitted with GPS or laser range finder, track and turnout gauges, rail and turnout profile gauges, as well as measuring instruments for the rolling stock wheels.
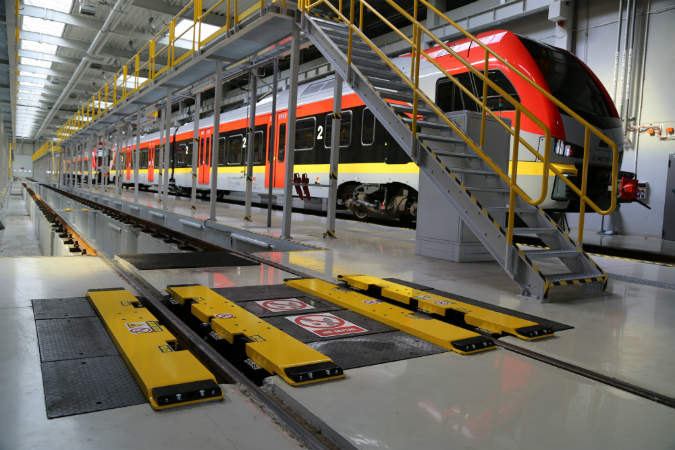
GRAW is a developer of the large measuring systems like real-time track condition evaluation systems for track geometry vehicles, stationary wheel geometry control systems, and diagnostic databases for rolling stock wheels maintenance planning.
The company also has experience in development of the software for collecting, processing, reporting, and archiving the measurement data. Moreover, GRAW has experience resulting from the requirements put forth by the railways, light rail, metro, and tram operators, track maintenance companies and companies regenerating worn tracks and rails.
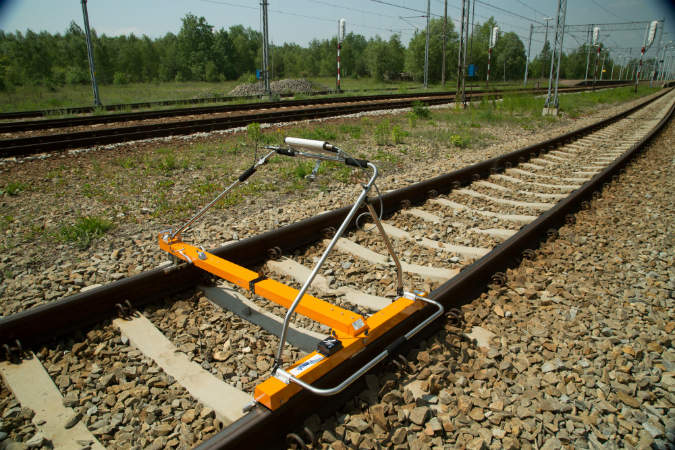
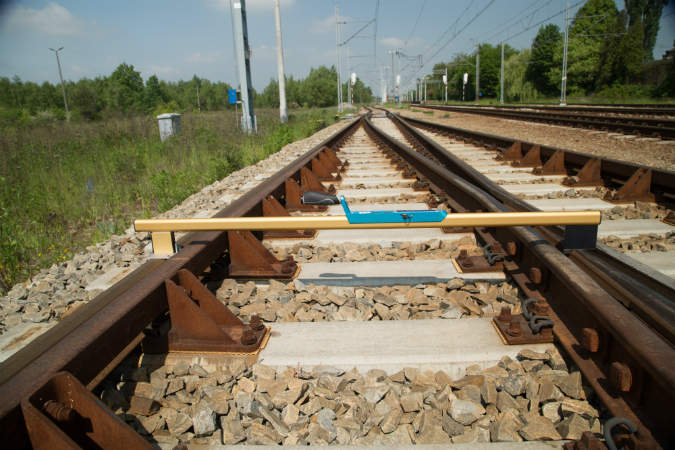
DTG & STI: digital track and turnout gauges
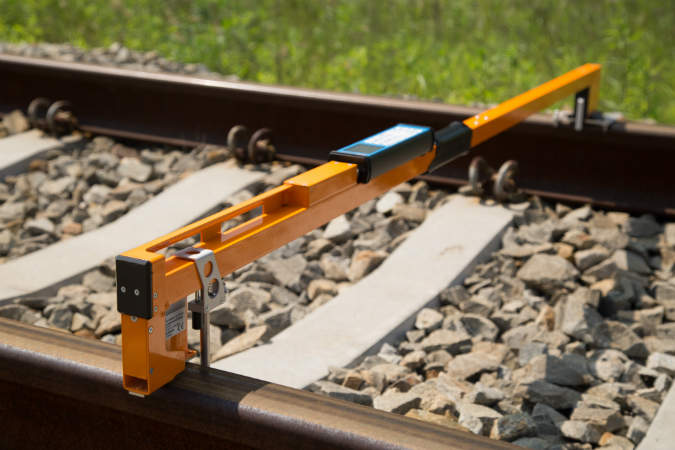
The DTG and STI gauges are designed for measurement of track and turnouts. One can enter tolerances for all measured parameters, so that each reading is automatically categorized as correct or out of specs.
All DTG gauge readings can be saved along with the additional information acquired from the visual inspection, like broken bolts, bridges, platforms, etc.
The DTG gauge may be used in two modes – the read only mode and the save mode. The gauge in the read only mode displays all measured parameters and does not store them in the memory. The save mode allows the user to store all the time-stamped measured values for further use and processing with the included PC software.
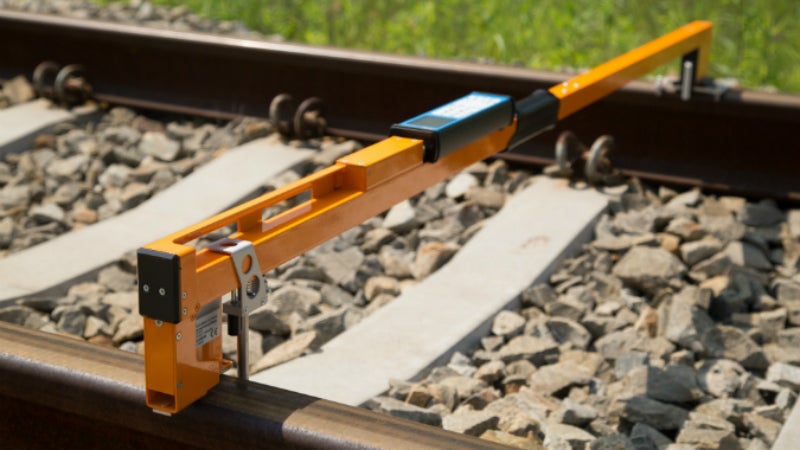
The STI gauge is a lightweight direct digital replacement of the outdated analogue units being very easy and comfortable to use, offering digital accuracy and ruggedness.
TEC & TEE: electronic trolleys
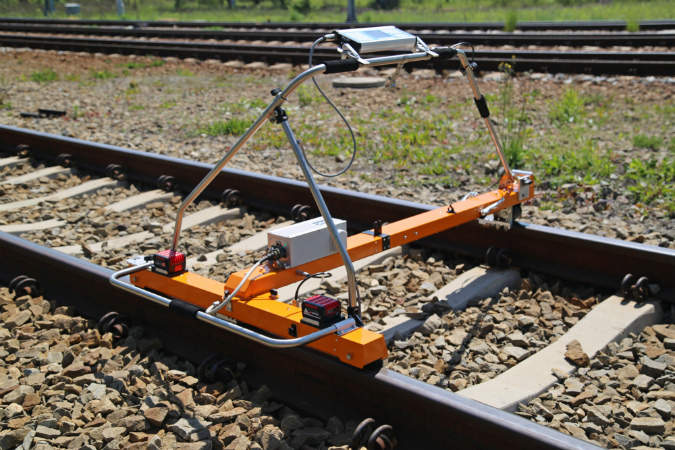
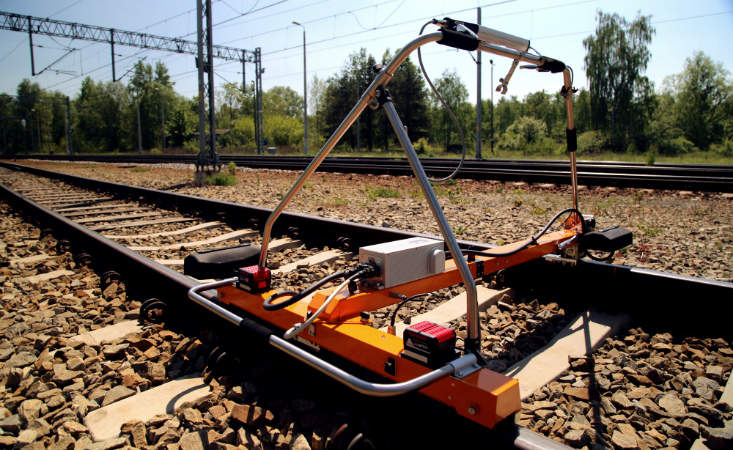
The TEC trolley is designed for measurements of track geometry. ITs readings are recorded automatically in real time as the gauge travels along the track. The operator can see measured values of the track gauge, cant and the actual mileage on the display during measurements.
The TEE track and turnout gauge has been developed for track and turnouts geometry measurements. It offers all the functions of the TEC and, in addition, makes it possible to make measurements of all geometrical parameters of switches included in the pertinent regulations. The measurement results are registered continuously along the measurement path, and in addition, the user can make readings of the parameters at the user-defined switch characteristic points.
Both trolleys are delivered with the PC software.
X-Y: rail and turnout profile gauge
The X-Y Profile Gauge is used for measurement of the transverse sections of turnout elements in the characteristic points of frogs and half of a pair of switches, as well as for rail head profile measurement. The gauge is positioned on the track during the measurement cycle, using the special beam as the datum. Having located the gauge in the required position, the operator guides the spherical measuring tip along the inspected surface and its trajectory is stored in the gauge electronic memory. The measurement results are later uploaded to the PC and analysed, presented, reported, etc. with the profile processing software delivered with the gauge.
RSG: straightness gauge for welds and rails
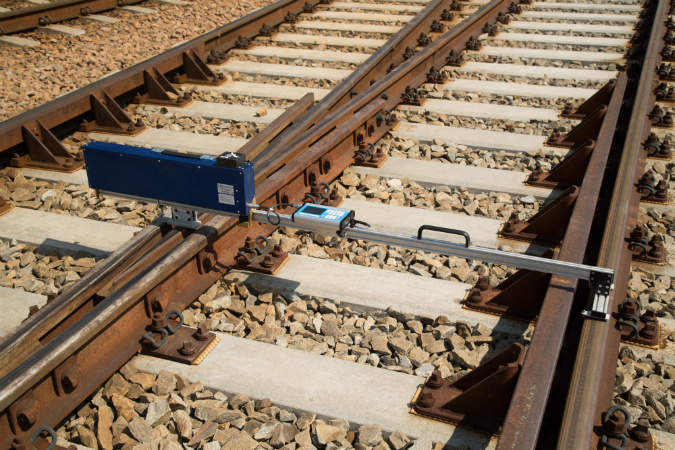
The rail straightness gauge (RSG) is designed for measurement of straightness of welds, joints and insulated joints. The non-contact measurements are made in two planes simultaneously. Moreover, the device makes it possible to evaluate also the rail corrugation. Its unique feature is its possibility of evaluating the rail’s waviness on lengths exceeding the device’s body length, thanks to the overlapping algorithm used for the measurements – the measurements can be taken on lengths of 40m or even more if needed.
TEP trolley
TEP trolley has the same functionality as TEC trolleys, and moreover, it makes possible to: measure and save transverse profiles of Vignoles and grooved rails, preview of the rail profile during its measurement, evaluation of the rail wear parameters, and automatic rail head profile assessment in the track.
Trolley readings are saved automatically in real time during the measurement. The operator sees on the control unit display the measured values of track gauge, cant, and also the current mileage.
Convenient keyboard makes entering information possible about the track defects and events, along with the optional annotations to them. This way, one can mark, for instance, localisation of a broken weld or rail, sleeper replacement requirement or missing bolts.
WWC wheel wear caliper & A-B wheel profile gauge
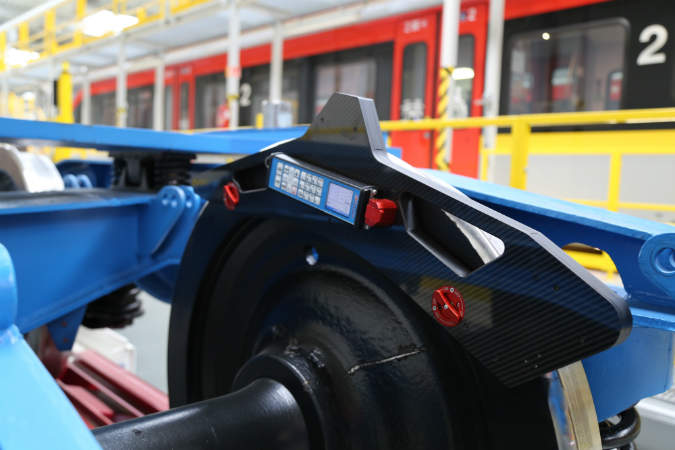
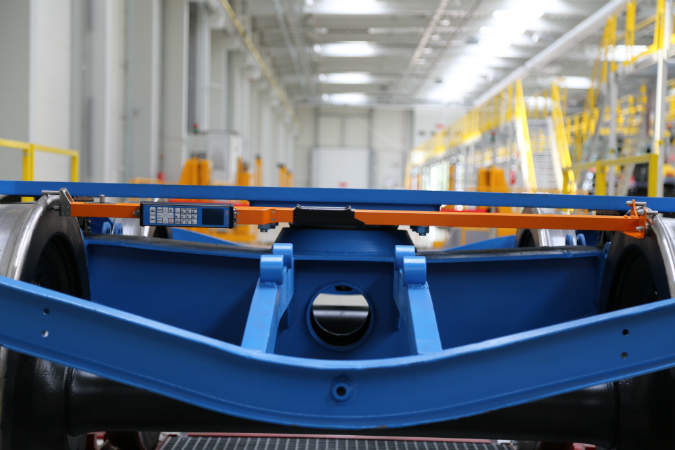
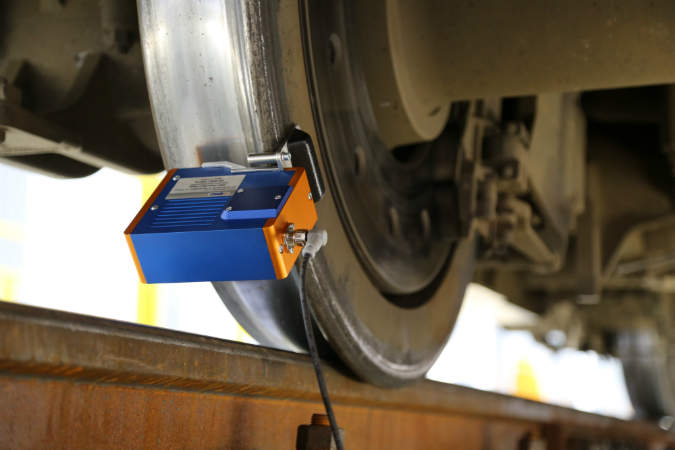
GRAW develop and manufacture electronic wheel profile gauges and wheel wear calipers for the manual measurements of the wheel rim geometry of rolling stock. These devices are also supplied with specialised software for collecting and processing the measurement results.
The wheel wear caliper is designed for quick, accurate and comfortable measurements of the Sh, Sw, and qR wheel geometrical parameters, characterizing the rolling stock wheels tread being the main train operation safety factor. The measurements may be carried out without taking out the wheel sets.
The AB Wheel Profile Gauge is designed for the continuous representation of the rolling stock wheel treads. The gauge may be used for planning the machining operations on the ground wheel-lathes, for checking the correctness of the entire profile made, for registering the developing wear in time both for the maintenance needs and for the research projects.


